Creating the Perfect Image Size for Pinterest
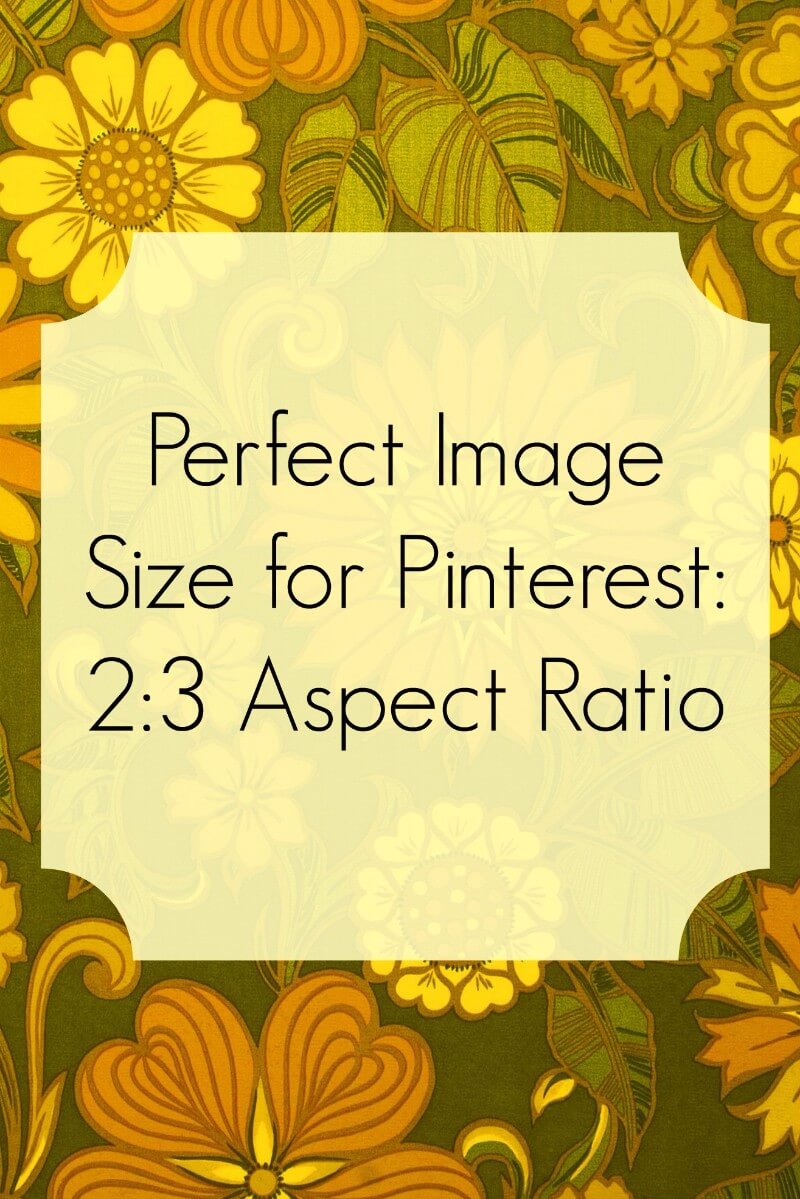
The perfect image size for Pinterest is a 2:3 aspect ratio image. In this video, I walk you through the process for creating an image that size. It’ll be the the ideal size to display in the Pinterest timeline. As a bonus, you’ll learn how to add some text to your image, all using free tools.
The Process Step-By-Step
1) Go to Pixlr.com a free, web-based image editing software. Scroll down to Pixlr Editor and launch web appl
2) Open the image you want to edit.
3) Click on the crop icon in the tools.
4) Constraint will appear next to the tool under the menu bar. From the drop down change from “no restriction” to “aspect ratio.”
5) Set width to 2 and height to 3. This sets the aspect ratio to Pinterest’s ideal 2:3.
6) Click and drag your image to crop it to that 2:3 aspect ratio.
7) Double click inside the crop area you have selected to crop the image. Now the image is the perfect Pinterest size.
8) Go to “file” on the menu and then choose “save” to save it to your computer. It’s a good habit to change the name so you can go back to the original image if you need to.
9) To add text to the image, we will go to PicMonkey.com which has free and premium features. The items designated in menus with a crown are the premium features. But you can generally do everything you need in a free account. A paid account is pretty inexpensive though.
10) Click edit at the top of the screen and choose computer to find the file on your computer.
11) Click on the butterfly in the Editor menu for Overlays. Putting down an overlay before you add text just makes it look nice and it’s easier to read.
12) Scroll down the options and select labels and then choose one of the free options. That will place a small black label on your image.
13) In the overlay color chooser, click the dot that’s in the black portion and drag it around until the label turns a color that looks nice with your image. In the video we choose pale yellow.
14) Under the color chooser, there is a slider marked fade. The label will become more transparent as you slide it to the right. A little transparency is nice and lets a bit of your background image come through.
15) Resize the label by grabbing the dots on the corners to make it as large as you like. Click in the center of the label and drag to reposition it.
16) Once you’re happy with the label, click on Tt on the editor menu. Then choose the font you want to use.
17) The text color will default to black, but you can change that the same way you did for the label. We stick with black here.
18) Click where it says “type your text here” and do just that.
19) Click on the center button under the text color picker.
20) Click outside of the text and resizing handles will appear on the corners just like the label. Click in the center of the text to move it around until it looks nice on your label.
21) At the top of the screen above your image, click save and then save to your computer. Again, change the name slightly so you can go back if you need to.
And that’s it! Now you have a graphic that is the perfect image size for Pinterest. Any questions? Please leave a comment!

